 |
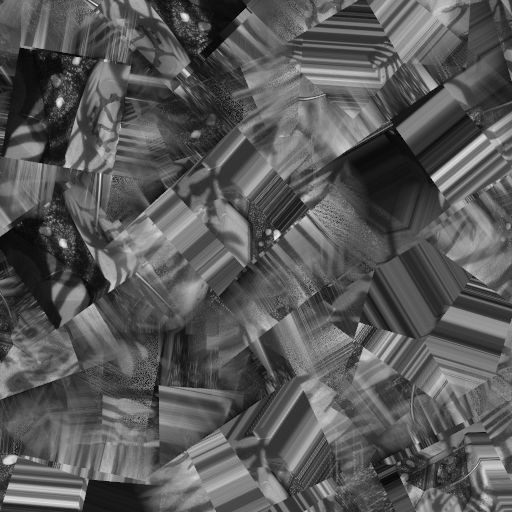
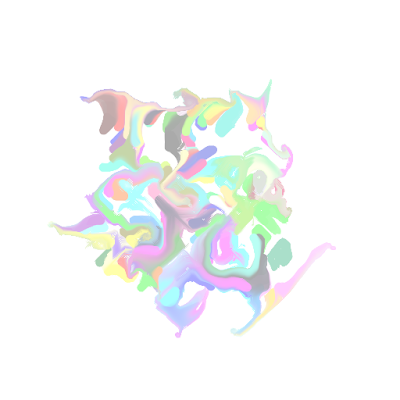
"B in Pink & Purple" (2013)
Painted at local Library in one afternoon using Blender. |
Driving one object using another object in 3D is an interesting area to explore and study in Computer Graphics (CG) in general. Although I have not yet explored everything about how to "hook" and "trigger" one value over another value in Blender, but this one area I continuously study and hoping to master one day.
One big reason why I kept at it is probably because of my interest in Real-Time interaction, Open-CV, proceduralism and those kind of stuffs. It is deeper than I thought. It involves a bit of Math too sometimes.
These are some of key features of Blender that I think has interesting potential to create driver-driven relationship:
- Manually keyframed or procedural animation (changing time over value)
- Object Constraint
- Bone Constraint
- Drivers
- PyDrivers (PyExpression?)
- PyHandlers (event trigger)
- Blender Game Engine
PyDrivers and PyHandlers are two most interesting topics in my mind at the moment. I only found out and understand a little bit about. I am hoping that I could understand more about it by actually writing and do something with it.
INSPIRATION: Light and Time / The Visual Art of Brian Eno
As a starter, have a watch at this video about Brian Eno and his philosophy in creating his art.
I quoted some of his talks:
"Design the system, but you let the sytem take over and make it for you. And of course it will make it infinitely. Thats what I like. I dont go for scale, I go for length. I just want thing that can go on forever..."
- Brian Eno
"You can specify a starting point,
you surrender to the thing growing in its own way"
- Brian Eno
For me and perhaps most of you, Visual Artists, what is even more interesting that changing value or driving value over another is to be able to SEE, TRACE, CAPTURE and VISUALIZE the result of the ever changing driven values on screen. From when it starts, until the end. Or maybe there is no end. Hopefully in real time, but at least we could preserve that beautiful ZEN moment in pixel.
This started to sound like a geeky philosophy. Lets stop talking and get some blending happens.
THE ART OF STAMPING USING DYNAMIC PAINT
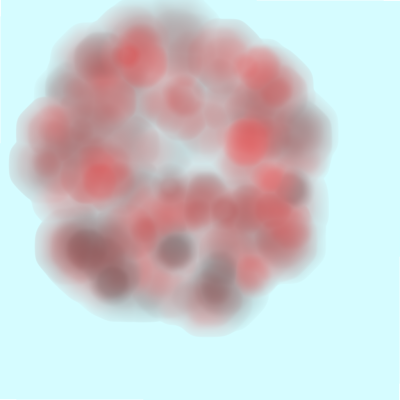 |
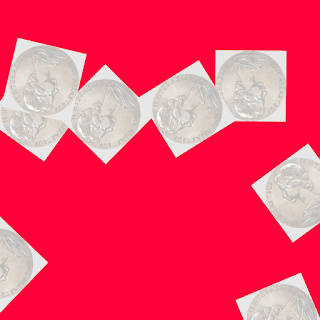
| "Untitled RED" (2013) |
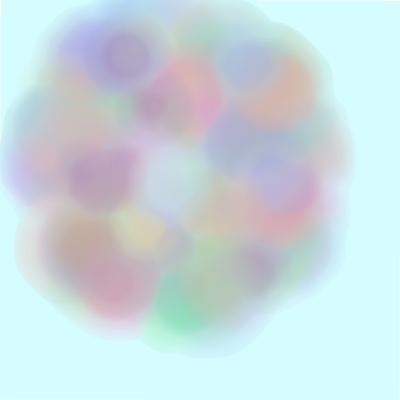 |
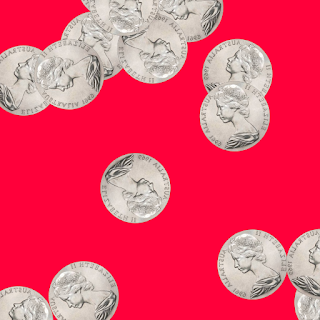
| "Untitled Random RGB" (2013) |
Although the concept is not totally new, but I figure out that if marriage the idea of "capturing an ever changing value" with
Blender Dynamic Paint, we can create some interesting original artworks.
Dynamic Paint is special because this feature in Blender captures / leaves a Brush mark on a Canvas and add more to it. It accumulates and adds more pixels without using too much of computer RAM.
While a huge amount of Poly Counts and Particles will crash any 3D package or render it impossible. If we use the "stamping idea" and accumulate the pixel, we can just keep going and going forever.
Kind of like how 2D Computer Graphics Art actually works, but Dynamic Paint is still happening in 3D environment, so it is very cool.
SEE ALSO:Imagine artworks created by stamping shapes of different size, color, position, rotation. Those the basics, and more.
INSPIRATIONS:THE TECHNICALITY OF DYNAMIC PAINT STAMPING
Before we get into the actual stamping art creation. We will cover a bit of technicality first.
Also read this "Dynamic Paint Guide" by Miika first before continuing so you have better idea about it:
http://www.miikahweb.com/en/articles/dynamic-paint-guideIn actuality DYNAMIC PAINT is not technical at all. I am sure you have read and watched some tutorials about Dynamic Paint. You simply specify any 3D Mesh as BRUSH and CANVAS and bake the result as Images. The BRUSH can be manually keyframed and animated.
 |
| As you explore Dynamic Paint further, you will find that there are flexibility of type of BRUSH in relation to CANVAS. |
However, we can take the idea further and more procedural. This is when thing can be a little bit technical. But do not worry about it, I will take you through every step.
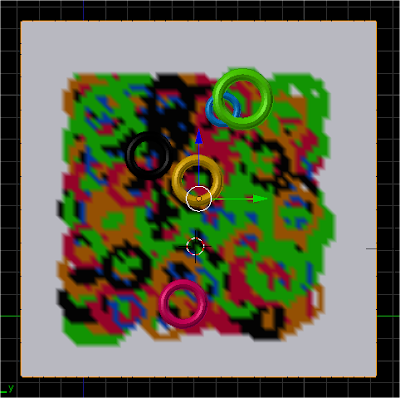
STEP ONE: Prepare Canvas and BrushStart with a simple Blender default Cube (this will be our BRUSH).
Create poly plane CANVAS of size 10 x 10 units. It can be any size as long it is Square but position the canvas like below, when we are looking at it from Top View.
Do UV unwrap on this CANVAS mesh, this to ensure it will have a nice layout for image baking later.
I want to simplify it like this for now. Imagine 2D Cartesian graph with only positive X and Y axis.
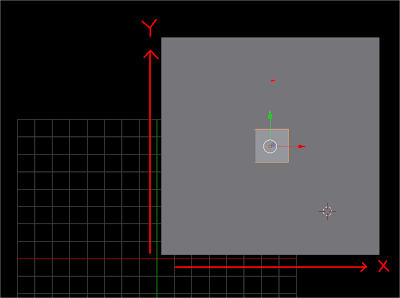 |
| Work in 2D Top View only, for now. |
STEP TWO: Randomize POSITION of the BrushHow would you like to randomize the position of the Cube (brush)? Since we will not be doing manual keyframing, we need some kind of Drivers. For this purpose, I am going to start using PyDrivers. Keep in mind that I am still new to this PyDrivers.
Watch this video again, this is my starting point of understanding this:
David Miller "Variations"https://vimeo.com/40389198I write the PyDrivers like below. The name of script need to end with *.py, then I make sure the "Register" checkbox enabled so that Blender will auto-load the script whenever the Blend file is re-opened. It will work like Blender Module to ensure all the setup works as it is without you having to re-run and refresh the dependency manually.
RANDOM WITH SEED VS RANDOM WITHOUT SEED
### RANDOMIZE POSITION USING PYDRIVERS WITH SEED VALUEimport bpyimport random as random
def randPos(min=0, max=1, seed=0): random.seed(seed) val = random.uniform(min, max) return val
bpy.app.driver_namespace[randPos] = randPosAbove is one example Python script on how we can create a PyDrivers expression that can be plugged into POSITION values of our BRUSH.
How do we apply it? Inside Blender Drivers panel. Just simply plonk the name of the Function you created in script editor to generate random position value into the Scripted Expression.
The above PYDRIVER is
more restricted and will generate a more predictable pseudo random numbers that CAN be repeated. The SEED value is the value that can be changed to get variations.
You can also do it like below if you want to have
totally random unpredictable result that CANNOT be repeated, able to move and reposition the brush in 3D.
### RANDOMIZE POSITION USING PYDRIVERS WITHOUT SEED VALUEdef randVal(min=0, max=1): val = random.uniform(min, max) return val
bpy.app.driver_namespace[randVal] = randValI decided that I will try all the possible variations that I could think of at the moment:
import bpyimport random as random
frame = bpy.context.scene.frame_currentseed = 123
def randPos(min=0, max=1, seed=seed): random.seed(seed) val = random.uniform(min, max) return val
def randValS(min=0, max=1): random.seed(seed) val = random.uniform(min, max) return val
def randVal(min=0, max=1): val = random.uniform(min, max) return val
bpy.app.driver_namespace[randPos] = randPosbpy.app.driver_namespace[randVal] = randValbpy.app.driver_namespace[randValS] = randValS
# The randPos() there is probably not a good naming# because after all we can simply reuse the value# for ANYTHING# randPos is more like the one where seed can be changed# on the fly, maybe with FRAMEYou can use the one without seed value for now, just for simplicity. Just keep in mind that if you actually want the "same" and more predictable result of pattern, you want to have SEED in it.
The one without SEED has the most freedom and most unpredictable (maybe that is what you want), the RANDOM POSITION will get updated whenever we scrub the frame in the timeline or when we make changes in values or when we attempt to move the BRUSH in 3D View.
I suggest the one with SEED value but with FRAME to trigger the changes and make variations.
However, if you want to be totally Zen, and dont care about the previous frame and what comes and just be surprised with the outcome, simply use any random value as you please without any restriction.
FINAL STEP: Paint and Bake using Dynamic PaintNow, after we now we a setup of BRUSH Cube that updates and reposition itself automatically, we can run the Dynamic Paint simulation and visualize the changes.
If you want a real time result, you can do that by using
Vertex Color Painting. If you want a result that is more precise, non-real time and can be saved, you use Paint and Bake
Image Sequences.
With Image Sequences, the final result will be sequence of images outside Blender that is in 1:1 Ratio Square format. While with Vertex Color Painting, we have more freedom of the Canvas Size and Ratio.
Increase the resolution of mesh to see a better presentation of Vertex Color Painting:
Here is a result after 250 frames. I reduced the OPACITY so that it is not 100% opaque.
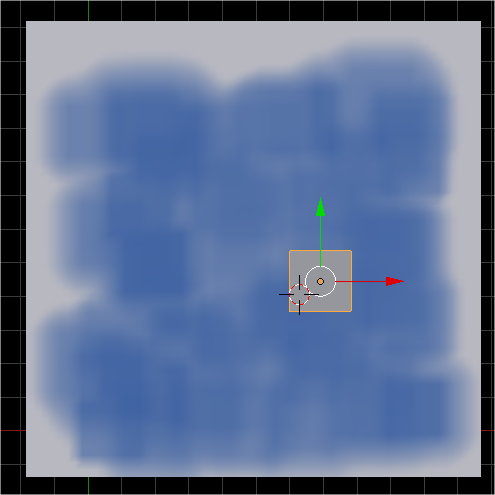 |
| With SPREAD activated. The color will bleed and blends to the nearby vertex. |
That is basically the process. Simple, right?
What is interesting now is that we can EASILY apply all kind of variations, simply by reusing our PyDrivers.
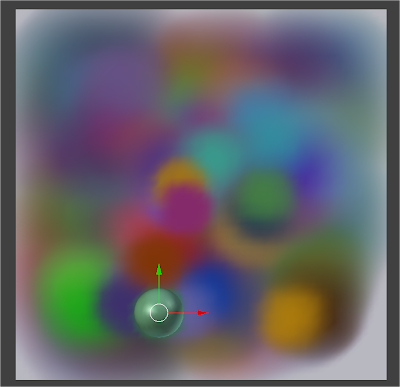
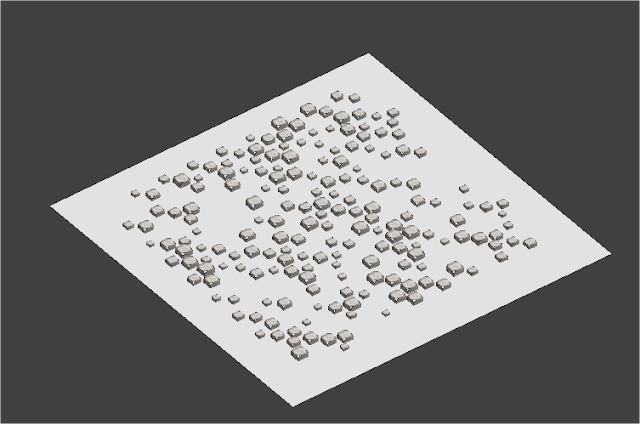
DYNAMIC PAINT STAMPING: Random Position XY, Random Scale XY
DYNAMIC PAINT STAMPING: Random Position XY, Random proportional Scale XY
DYNAMIC PAINT STAMPING: Random Position XY, Random proportional Scale XY, Random Opacity
DYNAMIC PAINT STAMPING: Random Position XY, Random proportional Scale XY, Random Opacity, Random RGB Color (based on Material)
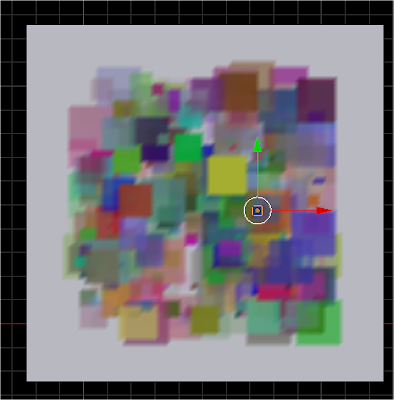 |
| "RGB Softsquare" |
DYNAMIC PAINT STAMPING: Random Position XY, Random Rotation Z, Random Color, Random Opacity.
With Rotation, make sure you use math.pi in expression (PI = 180 degree). Blender rotation expression works in Radian.- randVal(-pi, pi)
- randVal(-math.pi, math.pi)
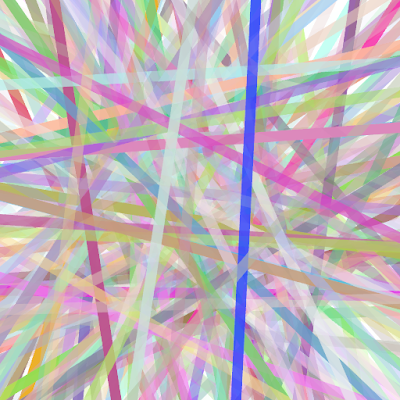 |
| Sharp RGB Lines (2013). |
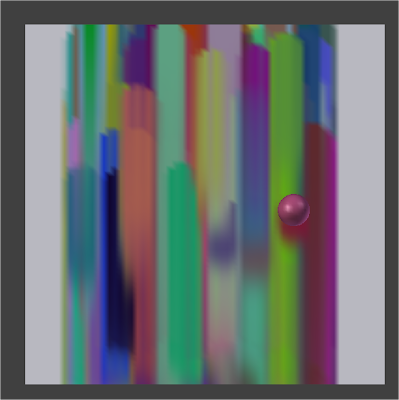
DYNAMIC PAINT STAMPING: Random Position XY, Random Rotation Z, Random RG Color, Random Opacity, Variations in Wetness.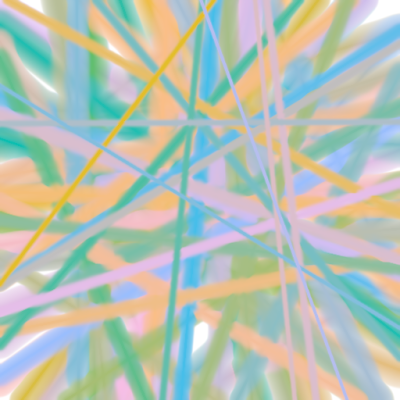 |
| Blurred Lines (2013). |
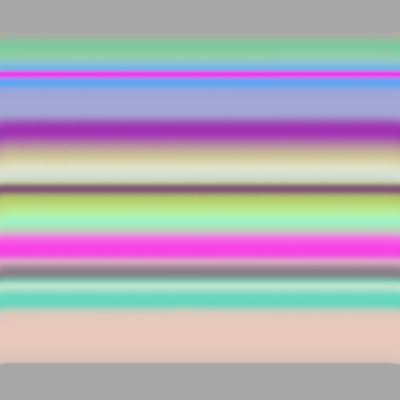 |
| RGB Blurred Lines (2013). |
|
Are we tried of Square and Lines yet? Lets try 3D Sphere. Simple replace the Mesh data with Sphere.
 |
| Wet Spheres (2013) |
 |
| Endless RGB Fountain (2013). |
|
How about Suzanne?
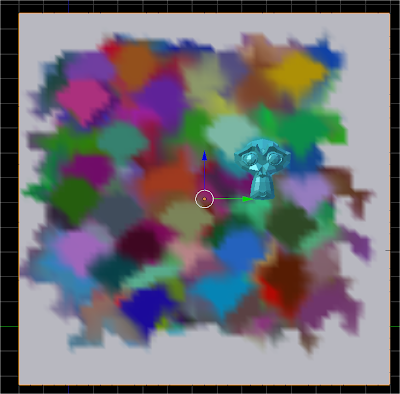 |
| Rocking Suzanne (2013). |
 |
| Tears of Water Dragon (2013) |
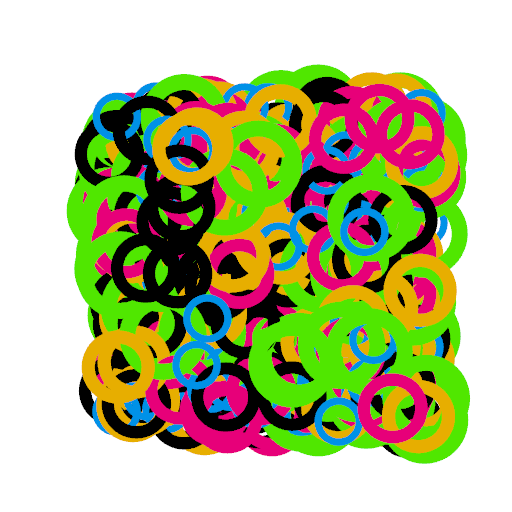
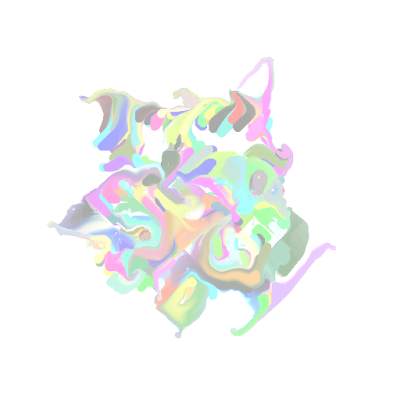
Did I tell you that RGB color is a little "ugly"? Then we need a more controlled Color for the BRUSH. Either using HSV or just use Kuler. Below, I use 4 x Brush, each with different color.
SPECTRUM CONFETTI (2013)
Now, we can started to see:
- What actually works? What does not work?
- What looks beautiful and appealing to the eyes and what not?
- How much range of color do we need?
- Less is more? More is more?
- Does random always work? Or less random?
- Which shape pattern is nicer to the eyes?
REALTIME VERTEX PAINT vs NON-REALTIME BAKED IMAGERemember there is a big difference between the Real Time VS the Final Image Sequence if you actually bake the result.
 |
| Real Time VERTEX PAINT |
 |
| Baked PAINT. |
The CANVAS and BRUSH are 3D, just in case you forgot about it. I often forgot actually.
 |
| UV is Flat. But 3D is 3D. |
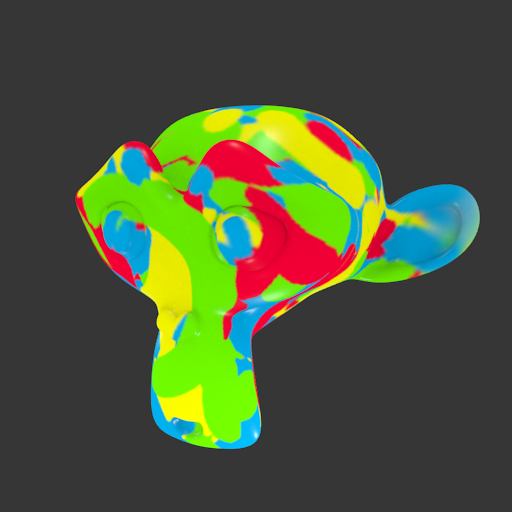 |
| Vivid Expressionista de Suzanne (2013). |
I do not know yet the final result I could get from this. Maybe you try it yourself and send me some of your artworks. Have fun~ Think of title of your Painting as well :)
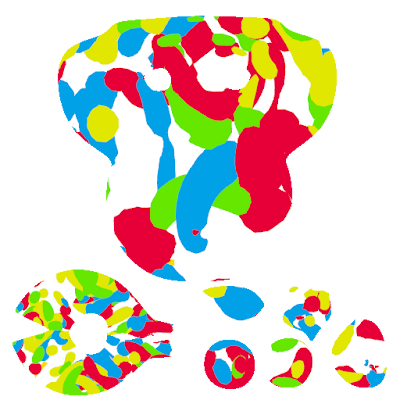
DYNAMIC PAINT MATERIAL+UV TEXTURE:
Do you know that Dynamic Paint BRUSH also respect Material UV Texture? I actually just found out today while experimenting and consulting about Dynamic Paint with Miika.
What does this mean for us? This means awesomeness. By using TEXTURE to procedurally paint, we can really easily produce all kind of abstract interesting Procedural Dynamic Paint Arts.
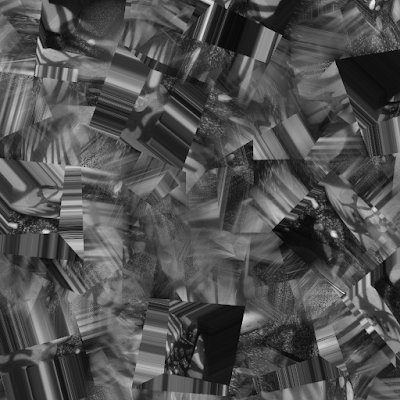
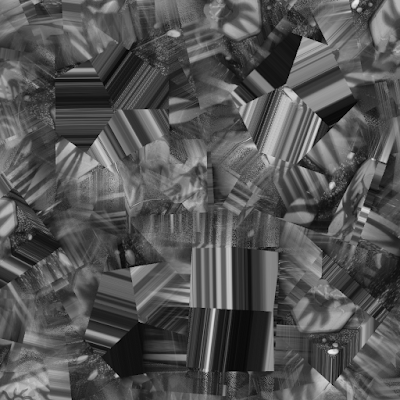
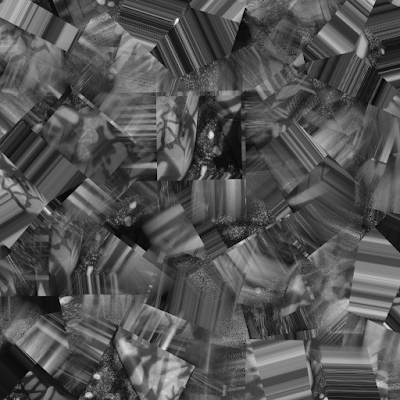
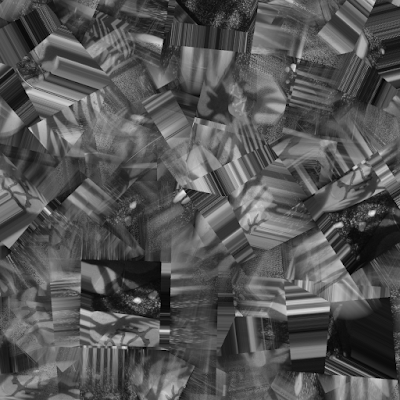
B&W VIVID CHAOS (2013)
Originally this is a photograph of B&W abstract light/shadow at night.
LIKE A DIAMOND (2013)
Using sequence of photographs that I took at Sydney Vivid Festival. Stamping applied using Icosphere.
SHREDDED DESIRE (2013)
Here, I am using Blender Sapling (Procedural Tree Add-On) as a Brush and some random photograph of autumn leaves to just randomly paint the Canvas. The result is something that is quite dynamic.
DYNAMIC STAMPING WITH TEXTURED ALPHA:Texture Alpha for stamping actually works as well. Although I did struggle to get it work at first:
Read about Blender Image Alpha here:
http://www.katsbits.com/tutorials/blender/scene-view-alpha-transparency.phpThen we need to make it to work with Dynamic Paint. To be honest, this is not as straight forward as it may seem because I kept getting this weird result (when using PNG+Alpha as one file):
 |
| What is going on there, Alpha? |
(Will update when I finally get it right and list all the steps....)
If you set everything correctly, you get the Stamping with Alpha Texture, which is less abstract and behave more like a stamp without edges. The Image Texture with Alpha in theory should just work just like Miikas official example on Dynamic Paint Guide where he did stamping using Blender logo and even paint with Smoke! Not sure how he did it at first, he is the Dynamic Paint Wizard.
UPDATE 20130609:
 |
| Alpha is now behaving. |
So, after some tweak, Alpha Texture is indeed working, you just need to set it up properly following the article post at Katsbits above. Most important is to ensure Alpha checkbox is ticked under
Texture setting. You can use Alpha either by providing texture with built-in Alpha channel already or simply use other image as Alpha.
Lastly, ensure that you also point and specify the correct Material underneath DP Brush setting. All goes well, Alpha will work fine. No bug here, just need to set thing properly.
Layered Texture is apparently
works together with Dynamic Paint and you can use Blenders own Procedural Texture and layer a complex texture, which is really amazing in my opinion.
What nice is that we are still controlling the objects in Object Level (animated manually or procedurally via scripting), but we sort of have access to all kind of Pixel Level-like stamping ability via Dynamic Paint.
BACTERIA BILLBOARD EFFECTSuddenly, I think to create "CONTAGION Bacteria Billboard" effect in CG seems possible and perhaps simpler to setup than I originally thought.
https://www.youtube.com/watch?v=LppK4ZtsDdMAll made possible because of Dynamic Paint. Well, for Shader guru, you probably can create OSL or some Cycles Shader node network that does this CONTAGION effect. It should be a fun challenge. However, for Artist in general, the idea of creating Random Stamping is easier to understand.
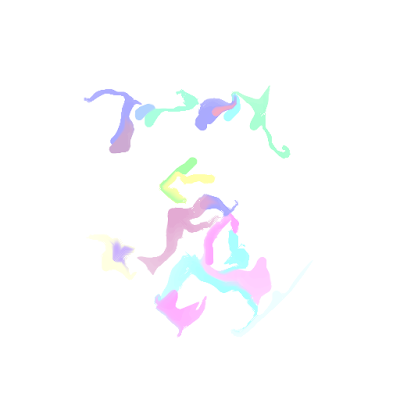
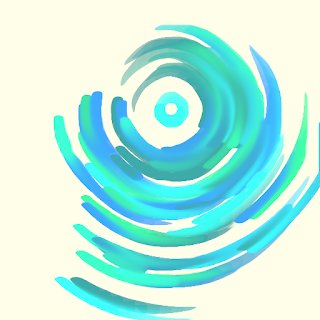
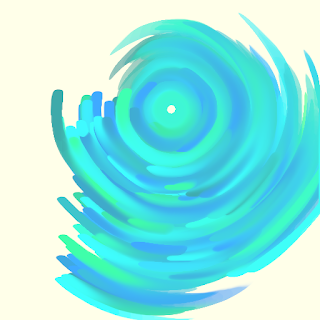
THE BALLAD OF FLOWER PASTELS (2013)
Using Force to drive the Paint.
 |
| 100 frames. |
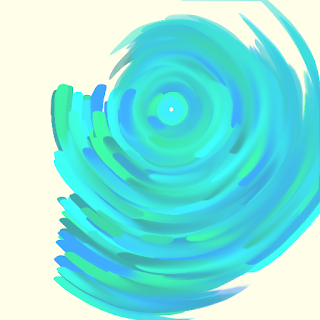
 |
| 100 frames later. |
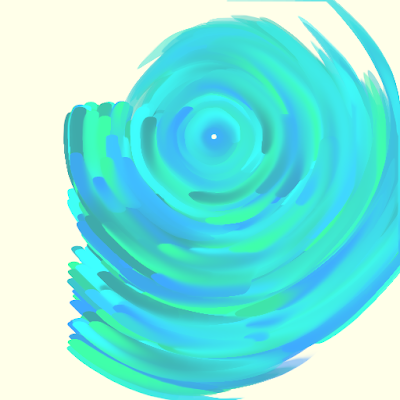
 |
| 700 frames. |
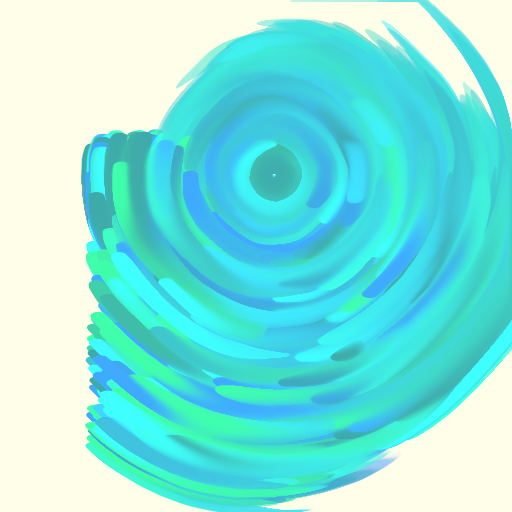
 |
| 1000 frames and continues.... |
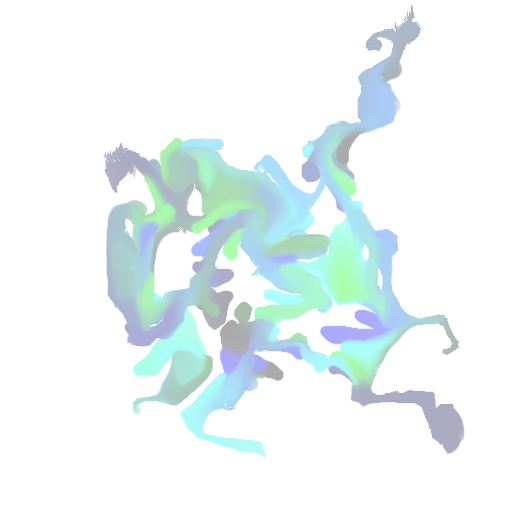
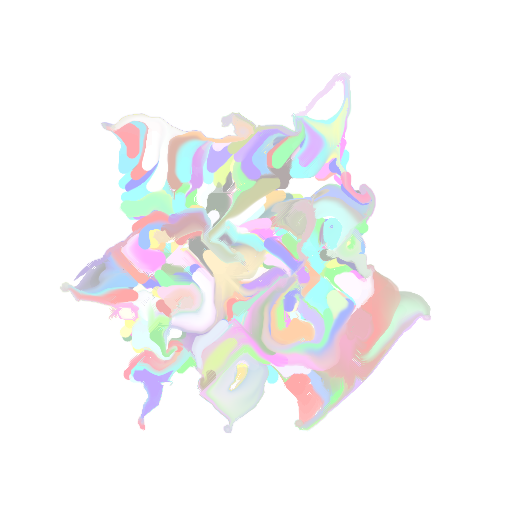
STARING EYE OF PYTHONIC VORTEX (2013)
BALLET OF BANSHEE (2013)
I have not yet explored all the possibilities that can be achieved using BRUSH of Dynamic Paint.
I encourage you to really explore Dynamic Paint and use some knowledge of Drivers to Stamp texture to create your own interesting beautiful ART piece:
I guarantee this post may grow overtime and you will discover some interesting feature of Dynamic Paint that you think impossible.
For example:
Particle Instancer + Dynamic Paint, gives you direct access to Particle Instance Texture to stamp. I did not know that this was actually possible, until Miika pointed: as long Particle Instance Modifier is applied before Dynamic Paint, you can stamp the Instancer this way.
 |
| The setup. |
 |
| Resulting Stamping from Particle Instance (via Modifier). |
COMING SOON:
- Particles Pointilism: can we use Python to tell Dynamic Paint to create rain of particle that reads a specific Image UV?
- Procedural Animation using Python: Linear Interpolation, etc.
In the meantime, I have to study more PyDriver and PyHandler first.... there is just something about these two that seems magical.
Below is some of my readings for the next few days:
 VoIP technology takes advantage of existing data networks to transfer calls letting the Internet do most or all of the work. So by paying for your Internet connection you are already paying for the networking capabilities needed to have a VoIP telephone call. This means that many providers will offer completely free phone calls for calls made from one VoIP caller to another, or PC-to-PC calls, because they are handled entirely "on-line." When you want to call someone on a land-line phone, SIP gateway providers can connect you to a local phone service. The SIP provider uses the web to get your phone call as close to the other caller as possible before connecting to a standard phone line. This virtually eliminates long-distance charges altogether, which is why the rates are so much lower.


